Still have questions? Contact our technical support: tech@powerstop.com
The installation guide is for reference only. Please refer to the vehicle’s service manual or professional installer for complete instructions.
How To Install a PowerStop Brake Kit
Step 1: Tools
Have the following parts and specialty tools available before you start a pad and rotor installation:
- PowerStop brake pads
- PowerStop rotors
- brake fluid (as specified in the owner’s manual)
- brake component lube
- a caliper piston compressor or C-clamp
- a jack and jack stands rated for the vehicles weight
- wheel chocks
We also recommend using safety glasses and gloves during the installation.
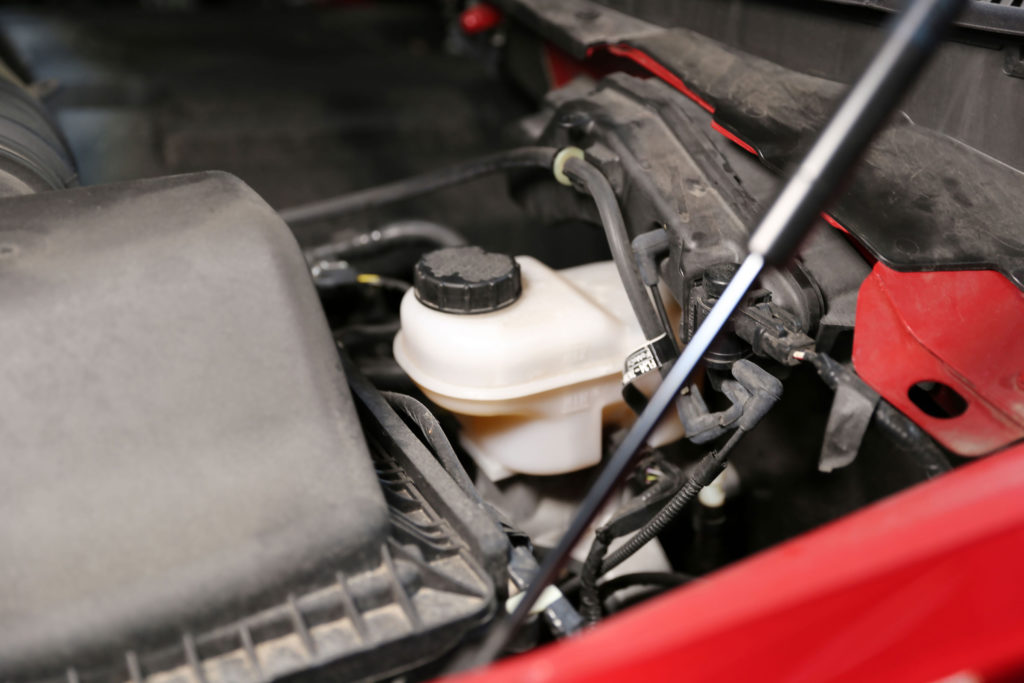
Step 2: Check Brake Fluid
Have the vehicle in the park position and make sure it is on a hard, level surface. Then, check the brake fluid level at the reservoir. The brake fluid reservoir should be about half full. Monitor the fluid level while compressing the caliper piston in step 9.
Step 3: Lift Vehicle
Before raising the vehicle, chock all wheels remaining on the ground, set the parking brake if the rear wheels will remain on the ground and loosen the lug nuts on the wheels just enough to break them free. Lift the vehicle and support it with jack stands using the proper jacking points specified by the manufacture.
Caution: Always use jack stands. Never attempt to work on an elevated vehicle held in place only by a hydraulic jack.
Step 4: Remove The Wheel
Remove the lug nuts and the wheel. It is best to work on one wheel at a time, leaving the other side intact as a point of reference. As a safety precaution, place the wheel/tire assembly under the vehicle at the nearest frame rail, suspension component or crossmember. In the event of a faulty jack stand, the wheel/tire will stop the vehicle from falling onto the ground.
Step 5: Inspect Brakes
After removing the wheel, inspect the brake components for any signs of leaks or damage.
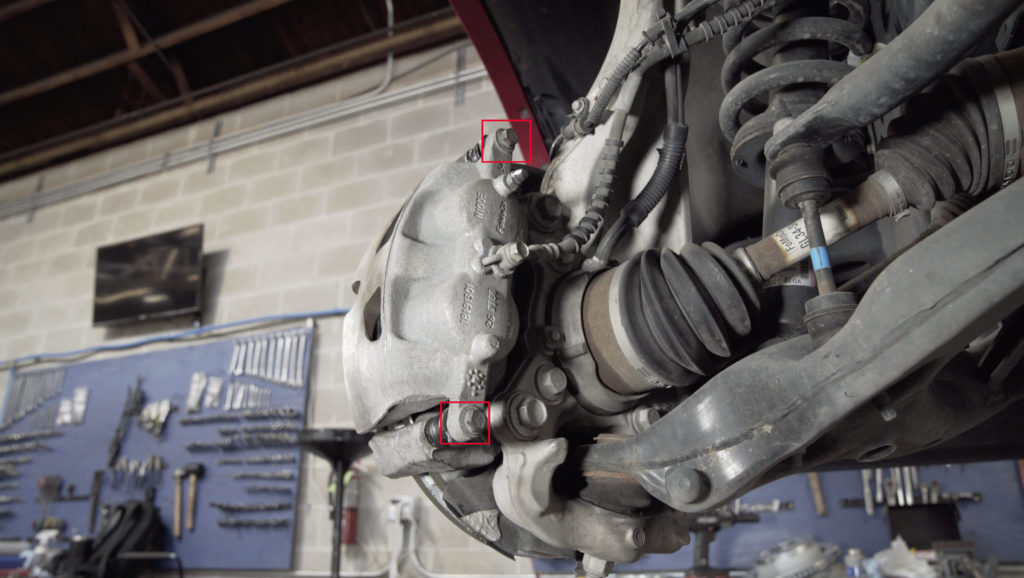
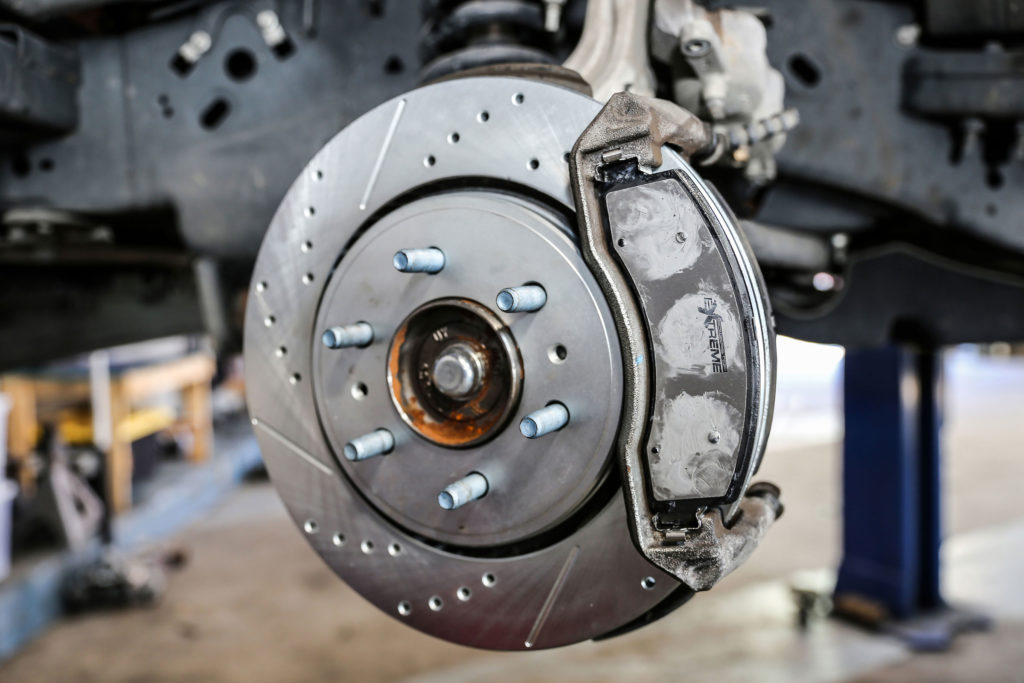
Step 6: Remove Caliper
Remove the two caliper guide pin bolts that hold the caliper onto the bracket. Then, remove the caliper and support it using a brake caliper hanger or a regular wire coat hanger.
Caution: Always support the caliper. Never allow the caliper to hang from the brake hose. This can cause damage to the brake hose.
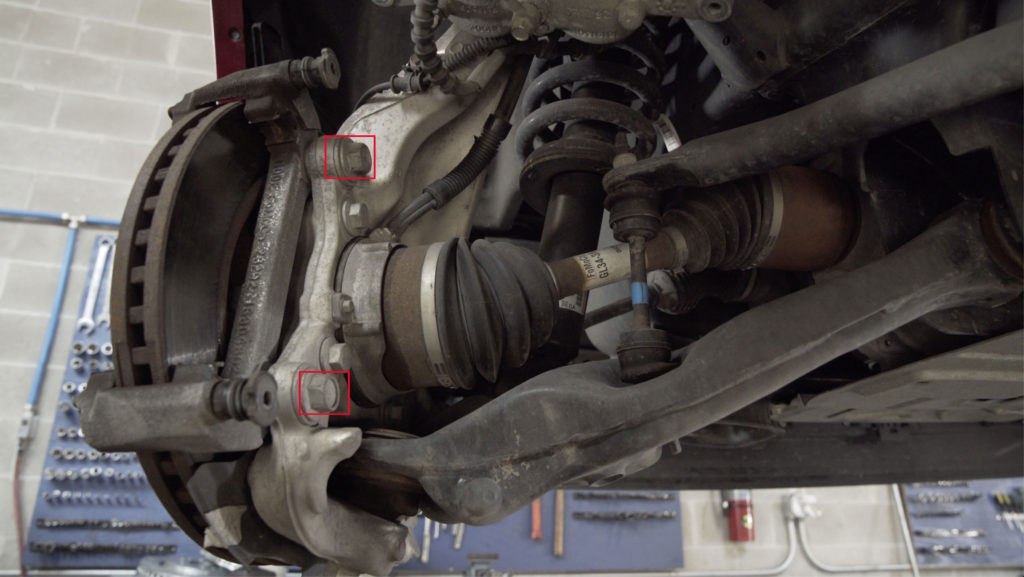
Step 7: Remove Pads & Caliper Bracket
Then, remove the two caliper bracket bolts along with the caliper bracket.
Step 8: Remove the Rotor
The rotor can now be removed. Before removing the rotor check for retaining screws. Some vehicles use retaining screws to hold the rotor onto the hub. These will need to be removed. Sometimes rust will make the rotor bind to the hub and a mallet will be needed to loosen it. Tap both the front and back side alternating left and right, top and bottom of the rotor.
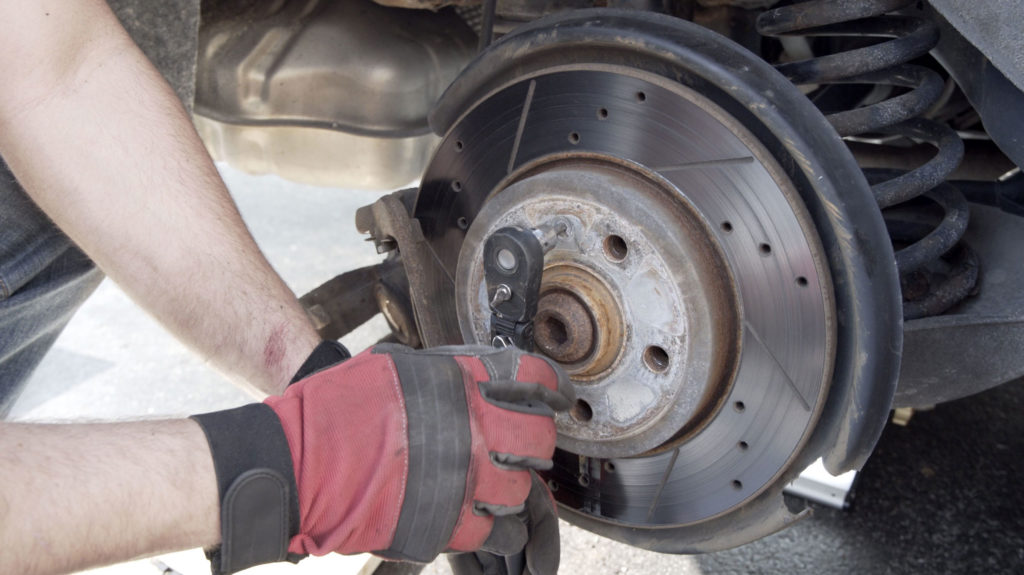
Step 9: Compress the Piston
The next step is to compress the piston back inside the caliper. The piston has extended as the pad material wears. With new thicker pads, you must return the piston back inside the caliper body to give the thicker pads room for installation. Using a piston compressor or a large C-clamp, place a used brake pad over the face of the piston to protect the surface from marring, and begin compressing the piston. As you turn the handle on the clamp, it will increase pressure on the piston, until it becomes flush with the surrounding metal. Push the piston in slowly to prevent unsafe back pressure and damage to the ABS modulator, brake valving or master cylinder. Monitor the brake fluid reservoir level while compressing the caliper pistons to make sure it does not overflow. Then, loosen and remove the piston compressor or C-clamp used. It may be necessary to drain some fluid from the master cylinder reservoir.
NOTE: Many rear brake pistons cannot be retracted with a C-clamp as they screw in and out. This type of brake piston will have two recessed notches and a caliper piston adjuster is used to compress the piston.
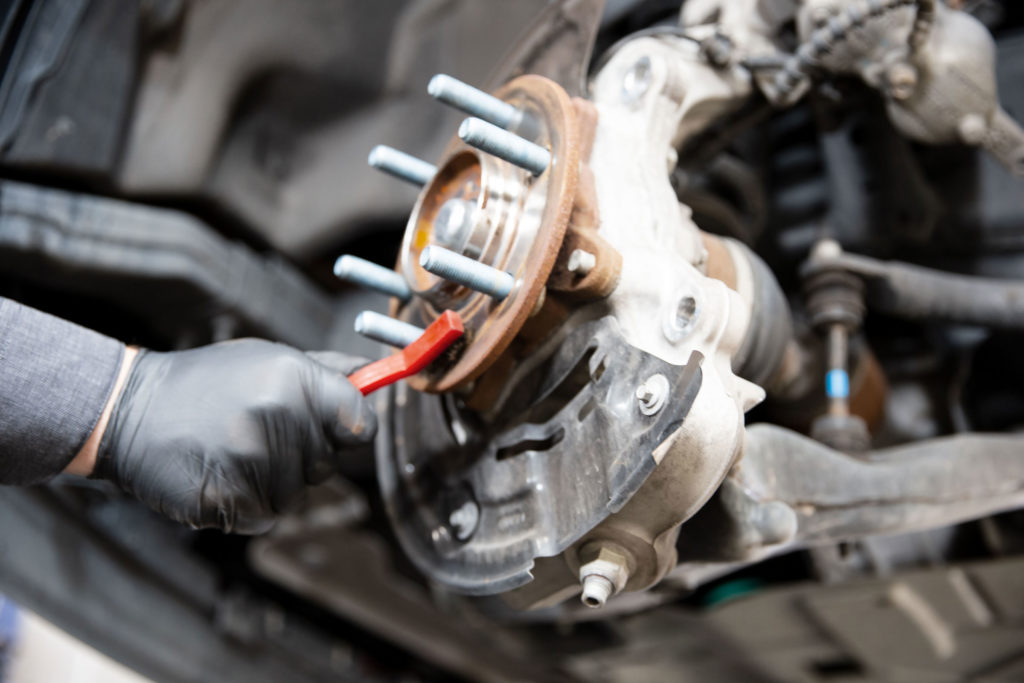
Step 10: Clean the Rotor Hub
Clean any rust off the face of the hub mating surface with a wire brush and a hub cleaning kit. Rust or debris on the hub can cause rotor runout and lead to wheel vibration. Apply a thin film of anti-seize to the face of the hub. This will make it easier to remove the rotor next time.
For more information on preparing the rotor hub for a brake kit install, check out this video:
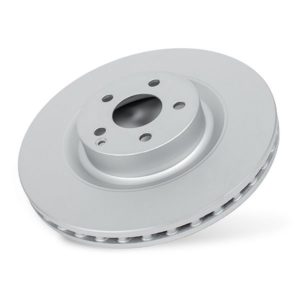
Step 11: Clean the Rotor
Before installing the rotor, clean it with mild soap and water. Then, wipe it clean with a lint-free cloth. Now the new rotor can be installed.
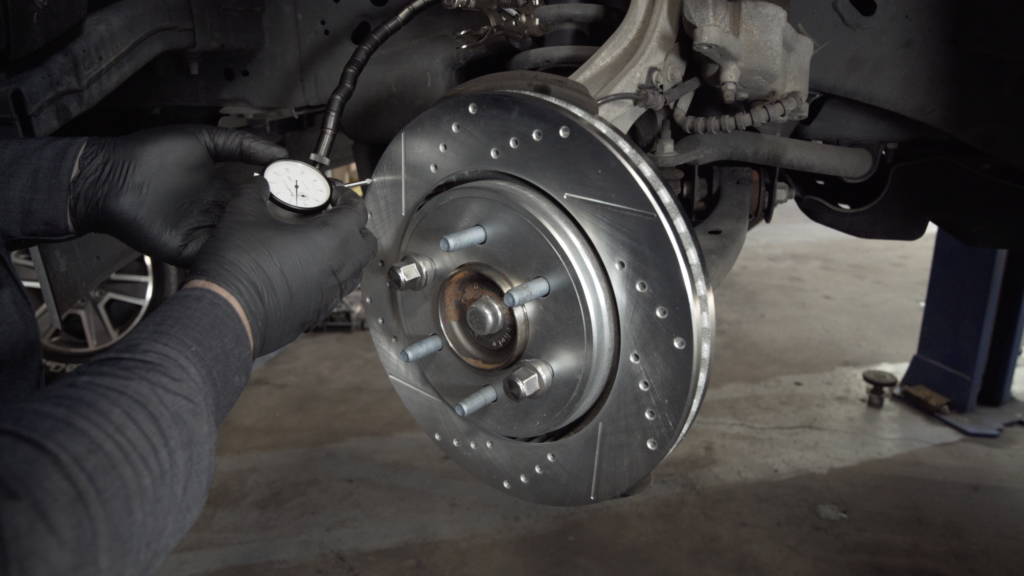
Checking For Lateral Runout
When installing rotors, we recommend checking the lateral runout. This will tell you if any variation exists between the rotor and the hub to which it is mounted. Depending on the application, the maximum acceptable lateral runout can range from .003” to .005”. Always refer to the manufacture specifications for each application. If a variation exists, this is generally easy to correct by re-indexing the rotor one hole at a time. The goal is to reduce runout by finding the best position for the rotor. If the rotor is not properly indexed, it’s possible to have some vibration or pulsation issues and damage the rotors over time.
Keep this in mind if the rotor needs to be removed to perform any other services to the vehicle. Mark the position of the rotor relative to the hub before its removed to make sure it is re-installed in the same position.
Some vehicles use a retaining screw to hold the rotor into position on the hub. It is not possible to re-index this style of rotor.
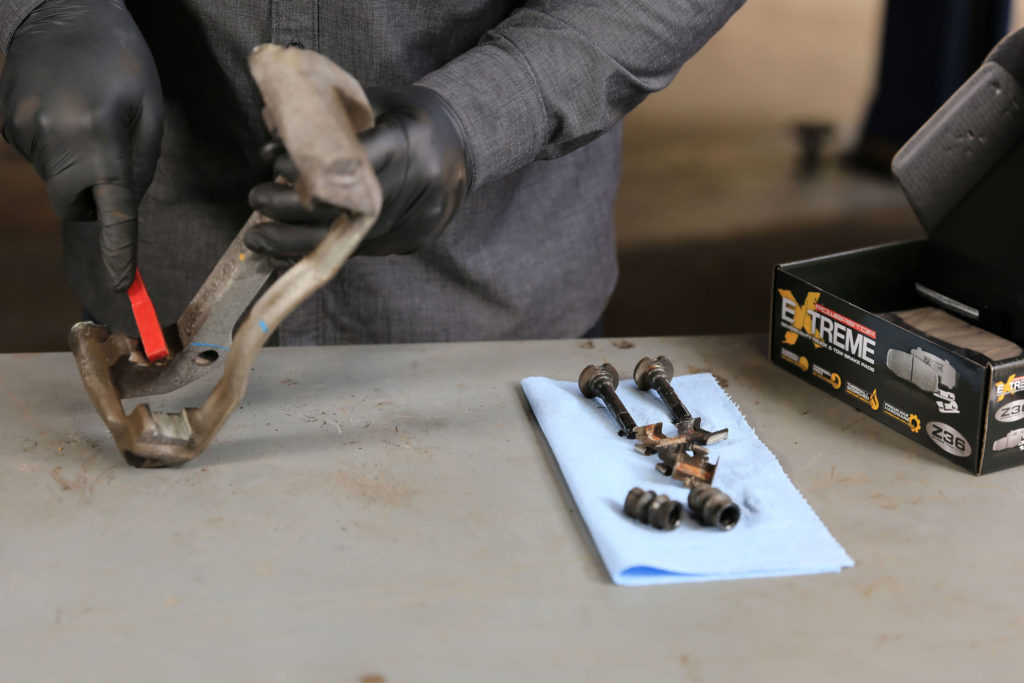
Step 12: Install New Hardware
Remove the old hardware from the caliper bracket and use a wire brush to clean rust from the areas where the pads or hardware contact the bracket. This helps ensure the new hardware will sit correctly on the bracket. Then, inspect and replace all hardware as needed making sure to apply brake lube to the guide pins and pad contact points. Worn or damaged hardware can lead to noise or poor brake pad performance.
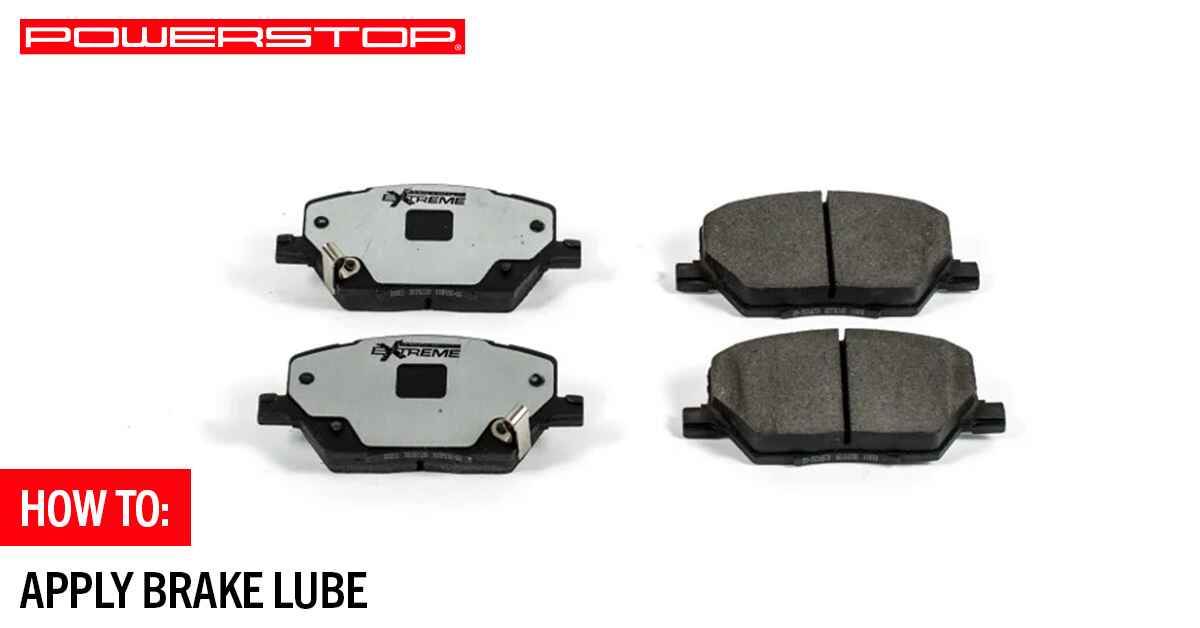
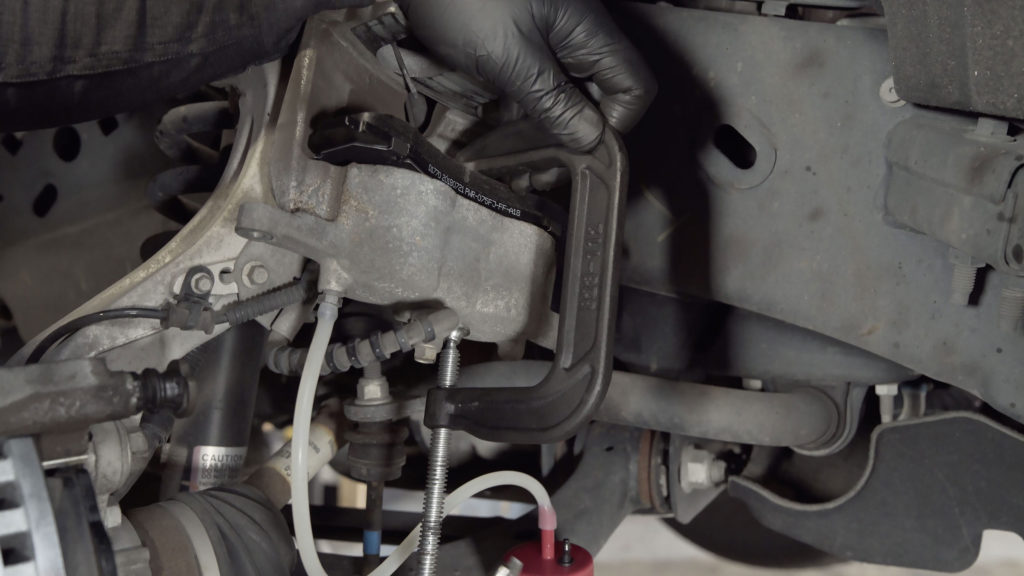
Step 13: Install Caliper Bracket & Brake Pads
Install the caliper bracket and torque the caliper bracket bolts to the manufacturer’s specifications. Then, install the new pads. Apply a small amount of brake lube on the back of the pads where they contact the caliper, as shown in the photo below:

Caution: Do not let any brake lube get onto the friction side of the pads.

Step 14: Install the caliper
Install the brake caliper, making sure to not twist the brake hose, and torque the caliper bolts to the manufacturer’s specifications.
Step 15: Bleed the brakes
Bleed the brakes to remove any air from the brake system. We recommend bleeding the brakes every time you replace the pads and rotors. Not all vehicles have the same bleeding procedure. You should always refer to the Factory Service Manual for the proper procedure.
NOTE: After bleeding the brakes, make sure the brake fluid reservoir is filled to the max line. Do not overfill the reservoir.
To learn more about the different types of brake fluid, check out our video below:
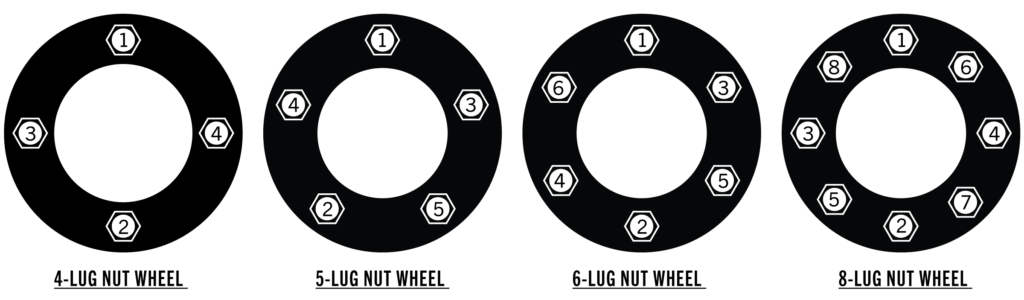
Step 16: Install the Wheel & Lug Nuts
Install the wheel and lug nuts. Then, lower the vehicle back onto the ground to finish tightening the lug nuts to the manufacturer’s specified torque. Follow the proper tightening sequence based on the number of lug nuts used, found in the picture below:
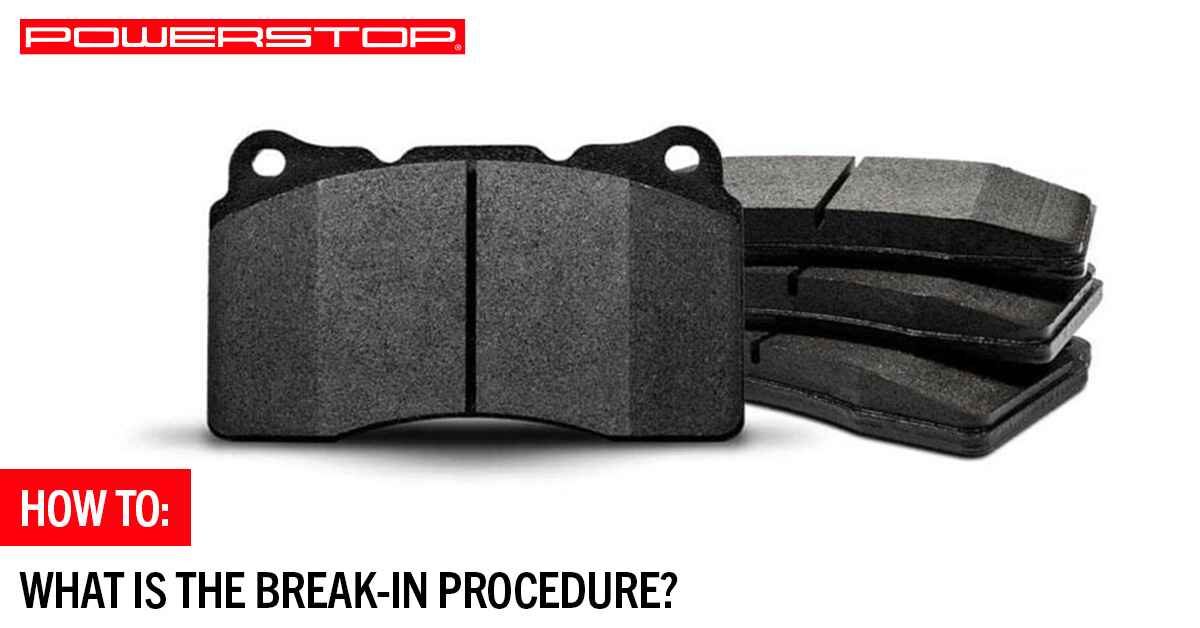
Step 17: Break-in Procedures
Complete one of the two break-in procedures below based on the PowerStop rotors installed.
IMPORTANT: The break-in procedure is critical to providing consistent braking, quiet stopping and trouble-free performance.
Break in Procedure for Drilled/Slotted and Non-Coated rotors:

Complete 5 moderate to aggressive stops from 40 mph down to 10 mph in rapid succession without letting the brakes cool and do not come to a complete stop. If you’re forced to stop, complete the stop and either shift the vehicle into park or give room in front so you can allow the vehicle to roll slightly while waiting for the traffic light. The rotors will be very hot and holding down the brake pedal will force the brake pad to contact the rotor and possibly create an imprint on the rotor. This imprint may contribute to the creation of brake judder.
Continue the break in by completing 5 moderate stops from 35 mph to 5 mph in rapid succession without letting the brakes cool. You should expect to smell some resin as the brakes get hot. After this is complete, continue to drive the vehicle for as long as possible without heating the brakes excessively and without coming to a complete stop (Try for about 5 minutes at moderate speed). This is the cooling stage.
Once this is completed and the brakes have cooled to standard operating temperature, you may use the brakes normally. Never cool your brakes with water, as this can damage them.
Break in Procedure for Evolution Coated Rotors:
After installation, perform 30 decelerations from 30 mph to 5 mph. With 30 seconds in between each deceleration for cooling. You should expect to smell some resin as the brakes get hot.
If you’re forced to stop, complete the stop and either shift the vehicle into park or give room in front so you can allow the vehicle to roll slightly while waiting for the traffic light. The rotors will be very hot and holding down the brake pedal will force the brake pad to contact the rotor and possibly create an imprint on the rotor. This imprint may contribute to the creation of brake judder.
Once this is completed and the brakes have cooled to standard operating temperature, you may use the brakes normally. Never cool your brakes with water, as this can damage them.
Back