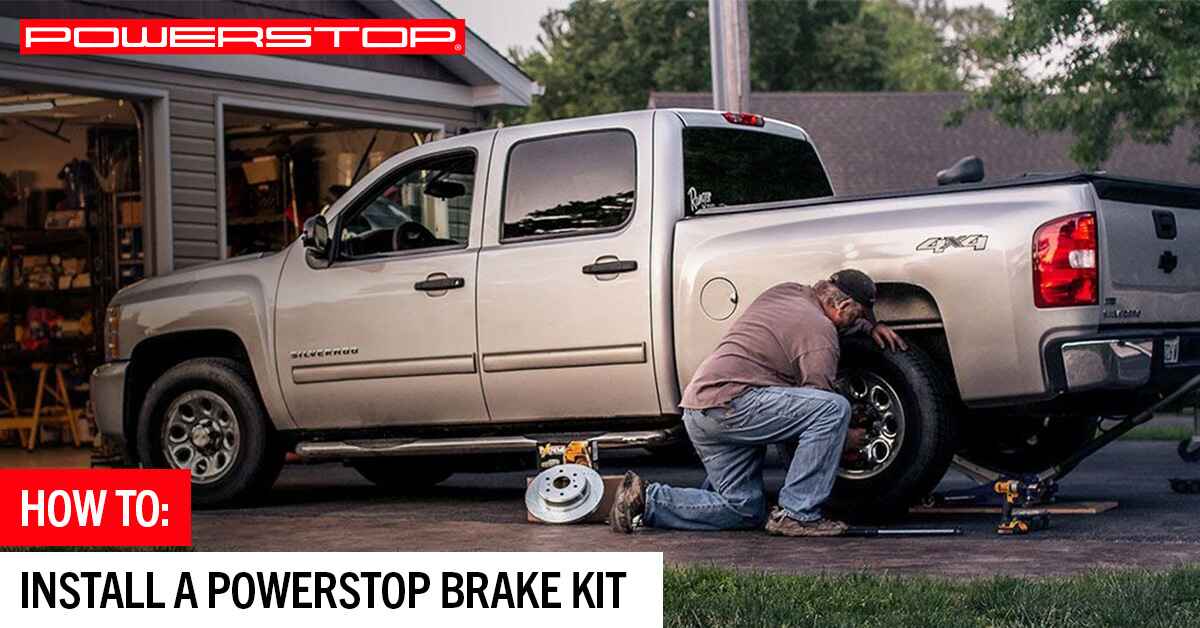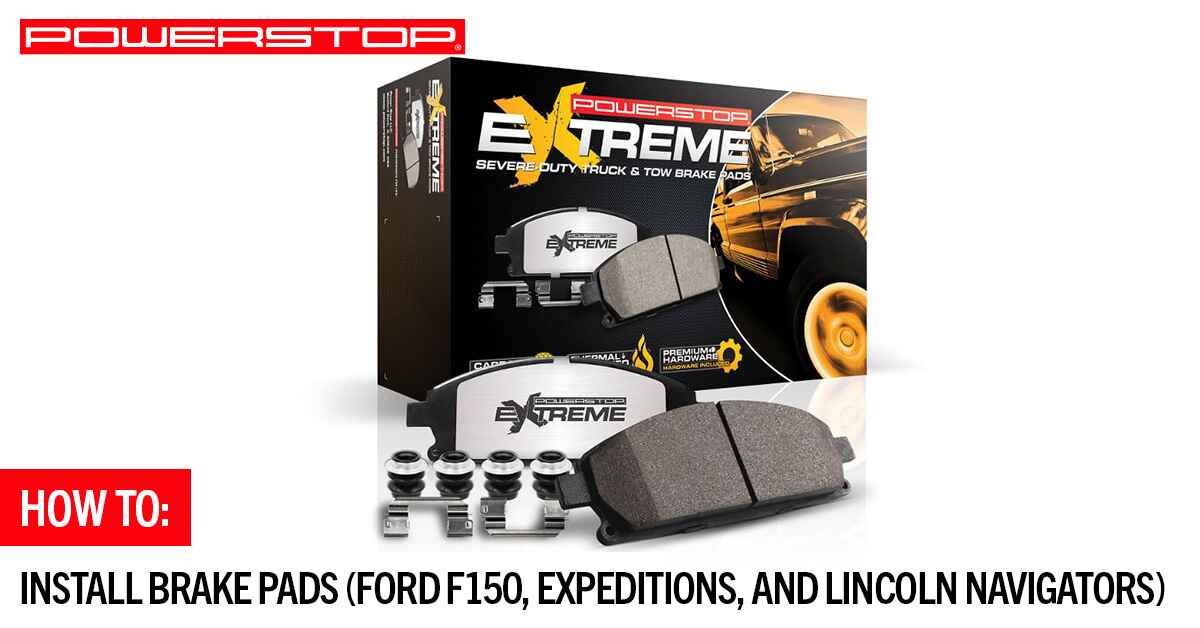
How to- Install Brake Pads (Ford F150, Expeditions, and Lincoln Navigators)
Ready to install new brake pads on 2010 to present Ford F-150, Expeditions, and Lincoln Navigators? PowerStop is here to help!
Below we discuss the common signs that indicate it’s time to replace your pads and why it’s so important to replace pads as soon as you identify an issue.
Common Signs That You Should Replace Brake Pads
It’s important to understand the signs that brake pads should be replaced. Below are some common signs that indicate action should be taken right away.
1. Brakes Make a Squealing Sound
Some brake pads contain a small metal tab called an “indicator” that makes contact with the brake rotor when the pad material wears down to a certain point. When this happens, it will cause a squealing or squeaking sound to be emitted as a warning that the pads need to be replaced. If the pads are not replaced, the metal of the brake pad will eventually be exposed and can cause damage to the rotor, caliper, and other brake components. Additionally, if the pads are worn down too much, it can also reduce the effectiveness of the brakes, which can be dangerous.
It is important to inspect the brake pads as soon as you hear a squealing sound, or when the pads have worn down to the point where the metal of the pad is exposed. Not all squealing means pads need to be replaced, but it definitely means the brakes should be inspected for issues. This will help ensure that your brakes are in good working condition and can effectively stop your vehicle.
2. Brakes Make a Grinding Sound
Grinding sounds from the brakes can be a sign that the brake pads have worn down completely and the metal backing plate is now grinding against the brake rotor. This can cause damage to the rotors and significantly reduce their lifespan. In addition, the grinding sound is an indication that the pads are not providing enough friction to slow or stop the vehicle, which can be dangerous.
It is important to replace the brake pads if you hear a grinding sound because it can lead to more costly repairs in the future if the damage to the rotors is allowed to continue. Additionally, driving with worn pads can be dangerous as the brakes may not work effectively, increasing the risk of an accident.
If you hear a grinding sound from the brakes, it is recommended to have them inspected by a mechanic as soon as possible. The mechanic will be able to determine the cause of the grinding sound and recommend the appropriate repairs, which may include replacing the brake pads and possibly the rotors.
3. Vibration When Braking
There can be several reasons why your brakes might vibrate when braking. One possible reason is that your brake pads are worn out and need to be replaced. When brake pads become worn, they can become thin and uneven, which can cause vibrations when the brakes are applied. Another possible reason for brake vibrations is that the rotors (the metal discs that the brake pads press against to stop the car) are warped or damaged. In some cases, brake vibrations can also be caused by issues with the brake caliper or the brake hose.
If you’re experiencing brake vibrations, it’s important to have the issue properly diagnosed by a mechanic. They can inspect your brakes and determine the root cause of the problem. If it turns out that your brake pads are the cause of the vibrations, replacing them will likely resolve the issue.
4. Taking Longer To Stop
If your vehicle’s brake pads are worn out, it can cause the vehicle to take much longer than usual to come to a complete stop when you press the brake pedal. This is because worn pads are not able to create enough pressure on the rotors to quickly stop the wheels from turning.
This can be a hazard, as it may not be able to prevent an accident or stop the vehicle from a collision when quick action is necessary. Therefore, it is important to replace the brake pads in a timely manner.
5. The Brake Warning Light Comes On
The brake warning light is designed to alert you when the brake pads have worn down to a certain level and need to be replaced. This is important because worn pads can significantly reduce the effectiveness of your vehicle’s braking system and can also lead to damage to other braking components, such as the rotors.
Replacing the brake pads when the brake warning light comes on is important for the safety and performance of your vehicle, as well as to avoid costly repairs down the road. It is generally recommended to have the pads replaced as soon as possible after the brake warning light comes on to ensure that your vehicle’s braking system is in good working order.
6. Brake Pads Appear To Be Thin
To ensure the proper functioning of your car’s braking system, it is important to regularly check the thickness of your brake pads. They should be replaced at or before reaching their minimum thickness level
Driving with thin brake pads can be dangerous, as they may not be able to stop the car quickly and safely in an emergency. To protect yourself and others, it is essential to replace thin pads as soon as possible to prevent any braking issues.
Do Not Postpone Brake Pad Replacement
If you notice signs that your pads need to be replaced, it is crucial to take action promptly. Below are just a few reasons why you should not delay brake pad replacement:
- Wear and tear: Brake pads are designed to wear out over time as they are used. As the pads wear down, they become less effective at stopping the vehicle. Eventually, the pads will need to be replaced in order to maintain the vehicle’s braking performance.
- Safety: Worn pads can be dangerous because they may not provide enough stopping power, especially in emergency situations. By replacing the pads, you can help ensure that your vehicle is able to stop quickly and safely.
- Cost: It’s generally more cost-effective to replace brake pads before they wear out completely. If the pads wear down too much, they can damage the rotors, which are more expensive to replace. By replacing the pads before they wear out completely, you can save money on repairs in the long run.
Overall, it’s important to regularly check your brake pads and replace them when necessary in order to maintain the safety and performance of your vehicle.
Have a Question? PowerStop Can Help!
PowerStop is dedicated to delivering top-quality performance brakes for every vehicle on the road. If you have a question about any of our products, contact us today online or toll-free at (888) 863-4415. Our customer service team is available to answer your questions Monday through Friday from 8 a.m. to 5 p.m. (CST). Se habla español.
Frequently Asked Questions
Changing the brakes on your vehicle is one of the most common and straightforward vehicle repairs you can make. DIY brake replacement is a smart way to save money and learn some helpful skills at the same time.
Here’s a list of some essential tools for changing your brakes:
- Jack and jack stands: To safely lift and support your vehicle during the process.
- Wheel chocks: To stop the vehicle from rolling forward or backward.
- Screwdriver set: For removing clips or retaining screws on the brake components.
- Ratchet and socket set: A must-have for loosening and tightening bolts.
- Allen wrenches, hex keys, torx, and allen sockets: To remove specialized bolts commonly found on brake systems.
- Wrenches: For additional leverage and access to bolts in tight spaces.
- Torque wrench: To make sure the wheel lugs are torqued to spec.
- Dust mask: To protect yourself from brake dust and debris.
- Safety glasses: To shield your eyes from dirt, debris, and potential hazards during the job.
- Work gloves: To prevent injury to hands and fingers.
Bleeding your brakes after changing pads isn’t always necessary, but it depends on the situation. Here are a few scenarios to consider:
When Bleeding Is Not Needed:
- If you’re only replacing the brake pads and didn’t open the brake lines or allow air to enter the hydraulic system, bleeding is generally not required.
- Simply compressing the caliper pistons to make room for the new pads doesn’t introduce air into the system. However, best practice is to open the bleeder valve while doing this to prevent forcing old, degraded fluid back into the system.
When Bleeding Is Necessary:
- If you opened the brake lines, such as during a caliper replacement or fluid change, bleeding is essential to remove air from the lines.
- If the brake pedal feels spongy or soft after replacing the pads, there may be air in the system that needs to be bled.
- If your vehicle’s brake fluid is old or contaminated, it’s a good idea to bleed the system as part of routine maintenance.
- Brake fluid does degrade and absorb moisture, contributing to poor performance and spongy pedal. It is best practice to flush brake fluid according to manufacturer recommendations
In general, if you’re unsure, bleeding the brakes is a good precaution to ensure your braking system is operating at peak performance.
The correct orientation of brake pads ensures proper function and safety. Here’s what you need to know:
- Friction surface faces the rotor: The side with the friction material (the thicker, non-metallic side) should face the rotor. This is the part that contacts the rotor during braking.
- Check for inner and outer pads: Some brake pads are designed specifically for the inner or outer side of the caliper. Inner pads may have wear indicators or specific shapes, so match each pad to its correct position.
- Follow any markings or instructions: Many brake pads are labeled with “This Side Out” or similar guidance. Pay attention to these markings and any installation instructions included with your pads.
- Proper alignment with clips or retainers: Make sure the pads sit securely in the caliper bracket and align with any clips or shims provided to prevent rattling or uneven wear.
If you’re ever unsure, refer to your vehicle’s manual or consult a professional mechanic to ensure your brake pads are installed correctly.
Yes, brake pads can be installed incorrectly, which can compromise your safety and damage your braking system. Common mistakes include installing the pads backward, using the wrong pad for the position, misaligning pads in the caliper bracket, skipping wear indicators, forgetting clips or shims, contaminating pads with grease, and failing to bed them in properly. Always follow installation instructions and handle pads carefully to ensure they are safe and installed correctly.
*Note: It is best practice to replace or resurface rotors when changing pads.
While it’s technically possible to install brake pads without the hardware, it’s not recommended. The hardware, which includes components like anti-rattle clips, shims, and retainers, plays a crucial role in ensuring the pads fit securely, reducing noise, and preventing uneven wear. Without the hardware, the pads may move or vibrate excessively, causing noise, reduced braking efficiency, and potential damage to the brake system.
Where applicable, vehicles with electric pad wear sensors need to have the sensor wires replaced. They are included with PowerStop brake kits when needed.
For the best performance and optimal safety, always replace the hardware as specified by the manufacturer during a brake pad replacement.
In most cases (but not all), brake pads sit in a caliper with the friction surfaces facing the rotor, secured by clips or hardware to prevent movement and noise. The inner pad contacts the caliper piston, while the outer pad rests against the caliper arms. Proper alignment and secure installation ensure even pressure during braking and optimal performance.
To determine which brake caliper goes on which side, start by checking the orientation of the bleeder valve—it should always face upward when installed to allow for proper bleeding of air from the brake system.
Ensure the caliper’s mounting holes align correctly with the bracket on your vehicle. In most cases, the piston on floating calipers faces inward toward the rotor. Some calipers may also have markings such as “L” for left or “R” for right to indicate the correct side.
Confirm that the brake hose connects without twisting or straining (improper alignment can compromise brake performance). If you’re unsure, refer to your vehicle’s manual or the manufacturer’s installation instructions.
Finally, make sure that the caliper and wheel lug bolts are torqued to manufacturer specifications.
No, the car should not be in neutral when changing brakes–or for any vehicle maintenance, for that matter. The vehicle should be in park (for automatic transmissions) or in gear (for manual transmissions) to prevent it from rolling. Engage the parking brake to ensure the car remains stationary while you work. If your vehicle has electronic parking brakes, be sure to follow manufacturer procedures to disengage the parking brake for rear axle when changing rear brakes. For extra safety, consider using wheel chocks on the tires that stay on the ground to keep the vehicle secure.
Back